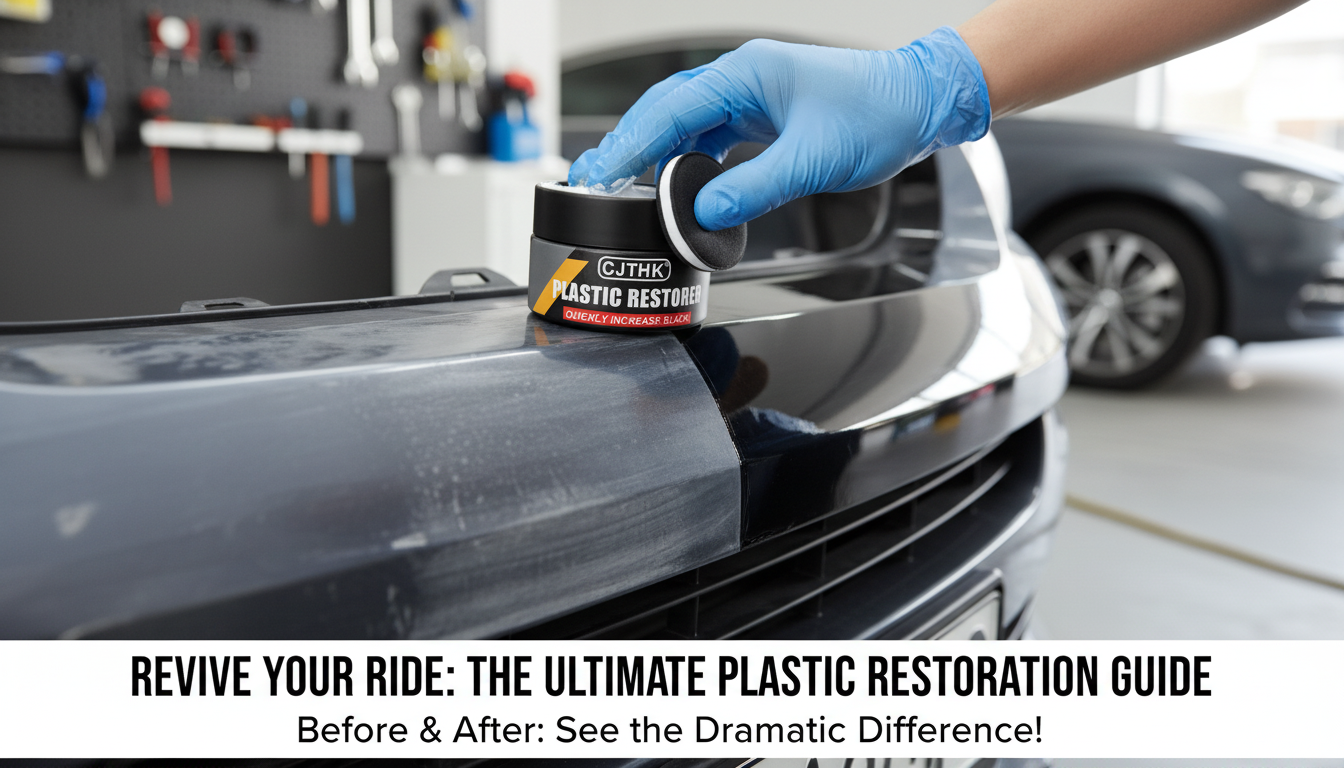
Car Plastic & Leather Restorer: Back-to-Black Gloss Coating & Polish for Trim and Interior
Sun, heat, and everyday cleaners can leave exterior trim and interior surfaces looking gray, chalky, or uneven. A plastic and leather restorer helps darken faded areas, smooth the look of light scuffs, and leave a richer gloss finish that’s easier to maintain between washes. When used on properly prepped surfaces, it can bring back that “back to black” look without the commitment of paint.
What a plastic & leather restorer does (and what it doesn’t)
A quality restorer is mainly about appearance and surface uniformity—think richer color, more even sheen, and a “hydrated” look on plastics and leather-like materials.
- Revives appearance by deepening color on faded plastics and conditioning leather-like surfaces for a darker, more uniform look.
- Adds a glossy coating effect that can reduce the “dry” or ashy look on trim and interior panels.
- Helps repel light dust and grime when fully cured, making routine wipe-downs easier.
- Does not repair cracks, torn leather/vinyl, or missing texture; severe oxidation may need multiple applications or refinishing.
If your trim is structurally fine but visually tired, a restorer is often the quickest cosmetic reset. For a product option, see Car Plastic & Leather Restorer – Back to Black Gloss Coating & Polish.
Best places to use it around a car
- Exterior black trim: bumpers, mirror housings, cowl covers, door moldings, and roof rack plastics (test first on textured trim).
- Interior plastics: dashboards, door cards, center consoles, and hard plastics that look dull or blotchy.
- Leather and leather-like surfaces: seats, armrests, and bolsters where the finish has faded (avoid perforations unless the label confirms compatibility).
- Not recommended on: glass, steering wheels that must stay matte for grip, pedals, or any surface where gloss could create glare or slipperiness.
For safety, keep glare in mind on top surfaces like dashboards—driver visibility is a real concern, especially in bright sun. General guidance on visibility and safety can be found at NHTSA.gov.
Preparation that makes the finish look even
Most streaks, blotchiness, or “too shiny” outcomes trace back to prep—not the product. Take a few extra minutes here and the finish usually levels out much more predictably.
- Wash and fully dry the area; restorers bond and level best on clean, dry surfaces.
- Strip old dressings: use a gentle all-purpose cleaner or dedicated trim cleaner to remove silicone residue that can cause streaks.
- Decontaminate if needed: road film, wax, and tar near trim edges can block adhesion and lead to patchy gloss.
- Mask adjacent paint and rubber seals for sharper edges and to prevent accidental smears.
- Always do a small spot test to confirm sheen level and darkening effect.
Quick prep checklist before applying restorer
| Step |
Why it matters |
Tip |
| Clean with mild APC/trim cleaner |
Removes grime and old dressing that causes streaking |
Use a soft brush on textured plastics |
| Rinse/wipe and dry completely |
Moisture can dilute product and reduce bonding |
Wait longer in humid weather |
| Mask paint and glass edges |
Prevents smears and hard-to-remove residue |
Painter’s tape + microfiber for borders |
| Spot test in an inconspicuous area |
Confirms compatibility and gloss level |
Check results after 15–30 minutes |
If you use isopropyl alcohol for final wipe-downs, handle it responsibly and follow label directions; a safety overview is available via NIH PubChem.
How to apply for a smooth “back to black” gloss
- Apply a small amount to an applicator pad or microfiber; thin, even coats look better than heavy coats.
- Work in sections: spread uniformly, then lightly buff to level the surface and reduce high spots.
- For textured trim: press product into texture, then wipe excess from peaks to avoid sticky buildup.
- Let it cure: avoid water, washing, or heavy touch until the surface is dry and set (longer cure time improves durability).
- If fading is heavy, apply a second light coat after the first has set rather than trying to “flood” the trim.
For more consistent cure times (especially in humid garages), gentle airflow helps. A compact option like the Portable Rechargeable Fan with LED Light – Battery Operated for Home & Travel can be useful when you’re waiting for dressings and coatings to set.
Finish control: gloss, streaks, and blotchiness
- Too glossy: reduce product amount, buff longer, or apply a thinner coat; gloss typically settles after curing.
- Streaks: usually caused by uneven cleaning or leftover dressing—re-clean, dry, and reapply lightly.
- Blotchy trim: porous or oxidized plastic may absorb unevenly; multiple light coats often even out the look.
- Residue on paint: wipe immediately with a damp microfiber, then dry; avoid letting it cure on clear coat.
If you’re trying to keep products gentler overall (especially for frequent interior wipe-downs), the U.S. EPA Safer Choice program offers practical tips for selecting and using safer cleaning products.
How long results last and how to maintain them
- Durability depends on sun exposure, rainfall, wash frequency, and whether the trim is porous or heavily oxidized.
- Gentle washing extends results: avoid harsh degreasers and strong alkaline soaps on restored areas.
- Top-up strategy: a light maintenance coat can keep color consistent without buildup.
- Storage and usage: close the cap tightly and keep out of extreme heat to preserve consistency and performance.
Common mistakes to avoid
When a restorer is the right fix vs. other options
FAQ
Is plastic restorer worth the money?
Worth it when trim is faded but structurally sound: it can quickly darken and even out appearance, improving curb appeal for a low cost. It’s less worthwhile for cracked or deeply oxidized trim that really needs paint, coating, or replacement.
How do you bring plastic back to life on a car?
Clean thoroughly to remove old dressings, dry completely, apply a thin, even coat of restorer, then buff to level. Repeat with a second light coat if needed, and avoid water until fully cured to lock in an even back-to-black finish.
Recommended for you


Leave a comment