How long should you press an iron-on patch, and what iron setting works best for embroidery patches?
For most iron-on embroidery patches, a solid rule is 20–30 seconds of firm pressure per section, then repeat once if needed. If the patch is large, press in overlapping zones rather than trying to cover it all at once. After pressing, let everything cool completely for a few minutes so the adhesive can set before flexing or testing the edges.
The best iron setting is typically “Cotton” (high heat, no steam). Steam can interfere with the heat-activated glue, so keep the iron dry. If the fabric can’t handle high heat (nylon, certain synthetics, waterproof shells), use a lower setting and longer press time, but expect that sewing may be a better long-term option for those materials.
Quick steps that help the patch bond cleanly
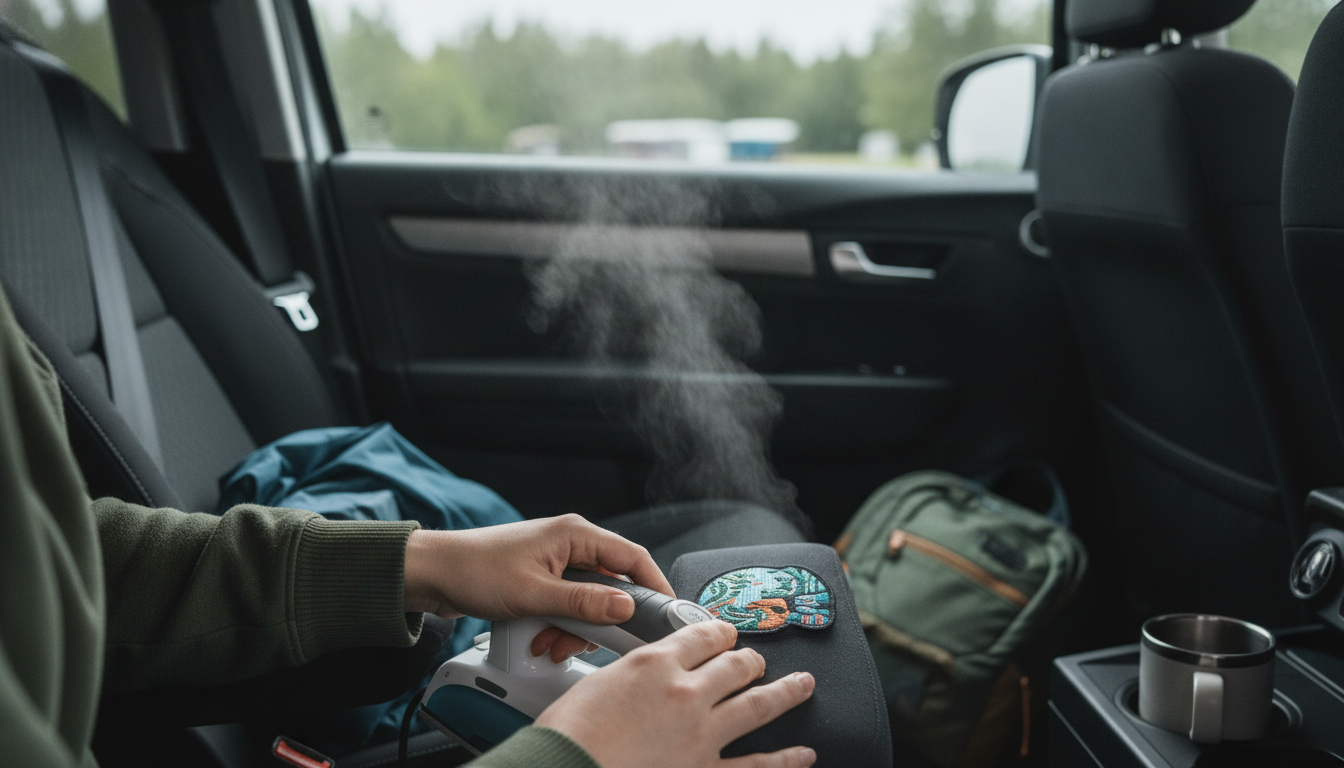
Preheat the area for about 10 seconds to remove wrinkles and moisture. Place the patch where you want it, then cover it with a thin cotton cloth or pressing sheet to protect the embroidery. Press straight down with firm, steady pressure—don’t slide the iron. Flip the garment if possible and press from the inside for another 10–20 seconds to reinforce the bond.
How to tell when you’re done
Once cooled, run a fingertip around the edge. If any corner lifts, re-cover and press that spot for another 10–15 seconds. For items that get heavy wear (backpacks, tactical gear, hats), a few small stitches around the border can dramatically improve durability even after a good iron-on bond.
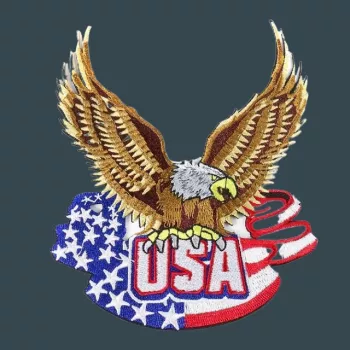
For patch-specific tips, placement notes, and gear-friendly application details, see the full guide here: https://ellixuro.com/guide-2pcs-usa-eagle-flag-iron-on-patches-for-gear/.
FAQ
Can you wash clothes with iron-on patches, and how long should you wait?
Wait at least 24 hours before washing so the adhesive fully cures. Turn the garment inside out and use cold or warm water on a gentle cycle, then air-dry when possible to reduce edge lifting.
Recommended for you







Leave a comment